
What are notes?
Notes are rich text entries added to a project's timeline. Use them to record important information, track progress, or communicate with the project's participants. Each note shows its author and how long ago it was added. Select text in the note to open a formatting toolbar with headings, bold, italic, underline, lists, and links.
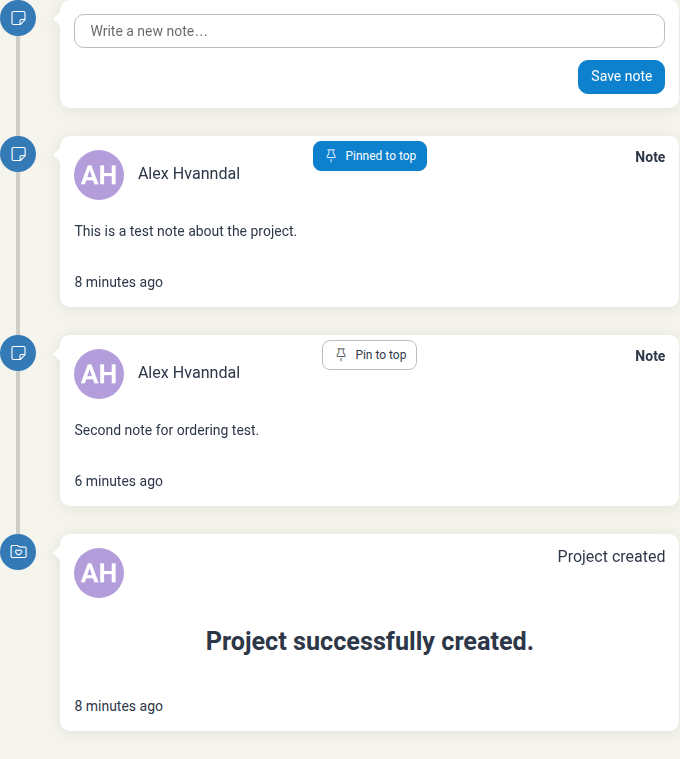
Notes appear in the timeline on the project details page, together with other activity such as the project creation entry.
Adding a note
- Open the project from the Projects list.
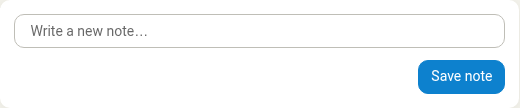
- In the project's timeline, click the field labelled Write a new note….
- Type your note and format it if you like.
- Click Save note.
Editing a note
- In the timeline, click the note's author line (or the time it was added).
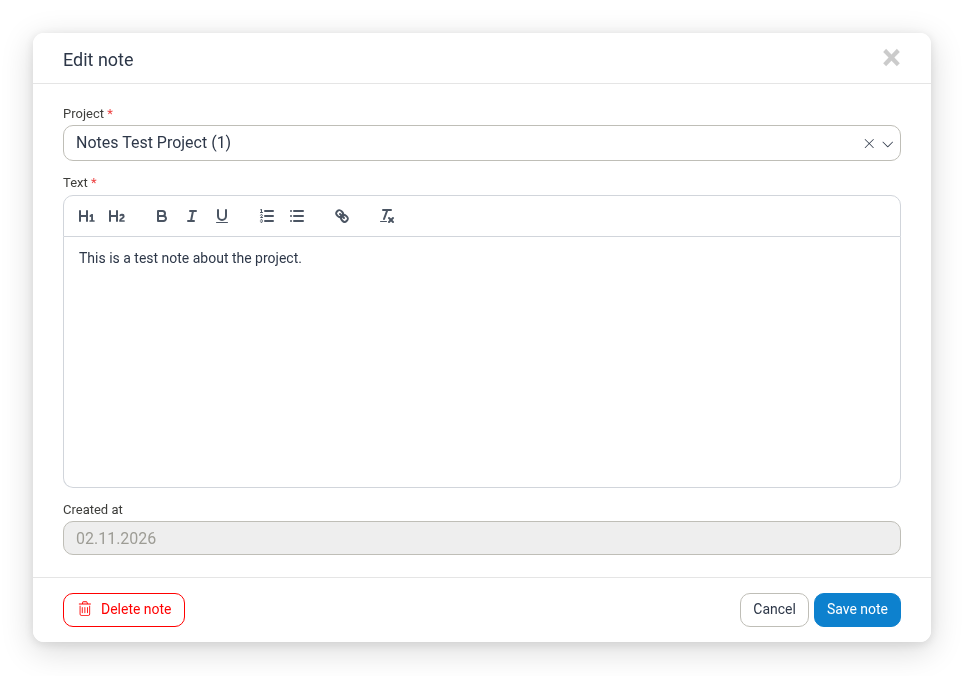
- In the Edit note dialog, edit the Text.
- Click Save note.
The dialog also shows the note's Project and the read-only Created at date.
Pinning a note
Pinning keeps a note at the top of the timeline, above the other entries. To pin a note, click Pin to top on the note.
Unpinning a note
To move a pinned note back to its normal position, click the Pinned to top button on the note. Its tooltip reads Unpin from top.
Deleting a note
- Open the note in the Edit note dialog.
- Click Delete note.
- Click Confirm to confirm.
Deleting a note is permanent and cannot be undone.